How to Perform Genomic DNA Cleanup Effectively and Efficiently?
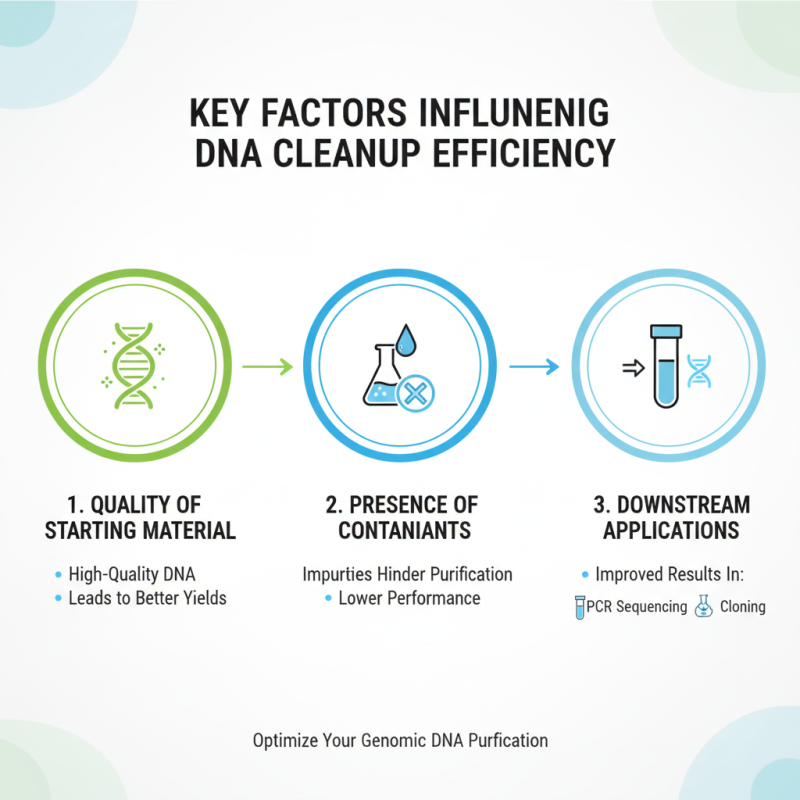
Genomic DNA Cleanup is a critical step in molecular biology. This process ensures that DNA samples are pure and free of contaminants. High-quality DNA is crucial for accurate results in downstream applications.
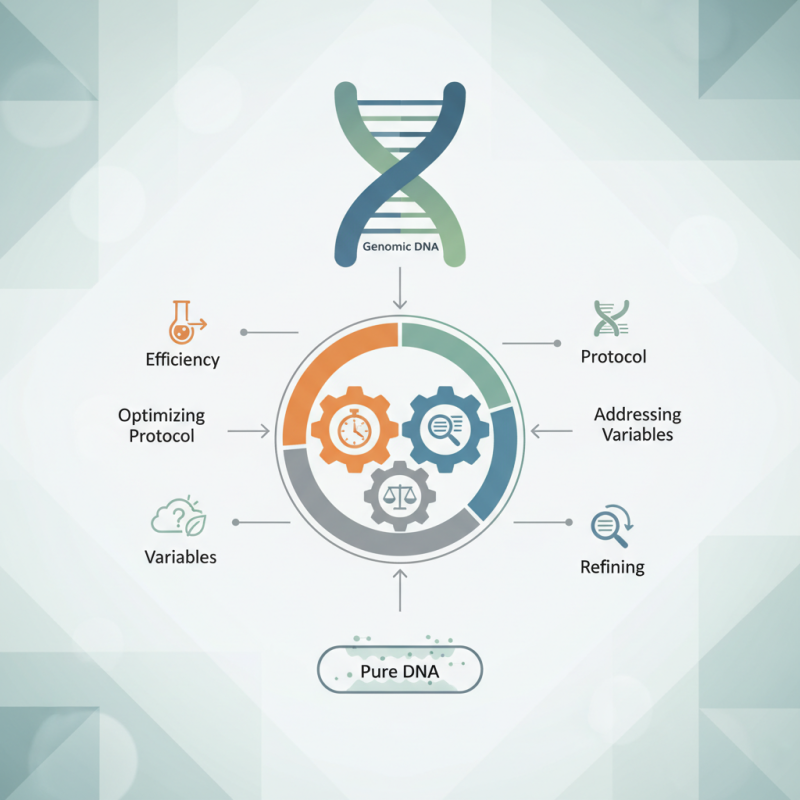
Performing effective cleanup is not always straightforward. Different methods have their benefits and limitations. For example, some techniques may seem faster but can lead to lower yields or degraded samples. Researchers often struggle to find the right balance between efficiency and effectiveness. It is essential to optimize the protocol for each sample type.
Moreover, unexpected variables can impact the cleanup process. Environmental conditions, sample quality, and reagent efficacy all play a role. Researchers must be vigilant and adaptable. Reflecting on previous experiments can help refine cleanup methods. Ultimately, careful attention to these details can lead to successful genomic DNA cleanup.
Overview of Genomic DNA Cleanup Methods
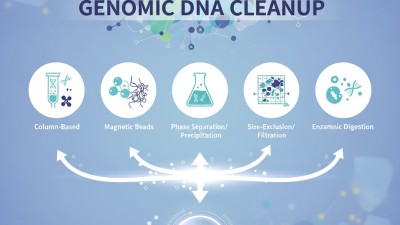
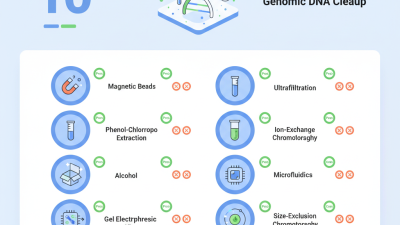
When cleaning up genomic DNA, several methods stand out. Common techniques include silica-based purification, phenol-chloroform extraction, and magnetic bead-based cleanup. Each technique has unique benefits and downsides. Silica-based methods are popular due to their reliability and efficiency. However, they can sometimes lead to DNA loss if not performed carefully.
Tips: Ensure your samples are not over-lysed during extraction. This can hinder the binding efficiency and reduce overall yield.
Phenol-chloroform extraction is effective but requires thorough knowledge of handling chemicals. It can lead to contamination if mishandled. Also, the process can be time-consuming and labor-intensive. Users need to maintain focus to avoid errors.
Tips: Work in a fume hood and double-check all measurements. Small mistakes can have significant consequences.
Magnetic bead cleanup is gaining traction for its speed and convenience. While it is simpler, it may not always yield the highest purity. Different protocols might yield varying results. Experimenting with conditions is vital to optimize outcomes.
Tips: Test different bead types and ratios. Small adjustments can lead to noticeable improvements in DNA quality.
Comparison of Genomic DNA Cleanup Methods
Step-by-Step Protocol for Effective DNA Cleanup
Cleaning up genomic DNA is crucial for reliable results in molecular biology. A clear, efficient protocol is essential for maximizing yield and purity. Many labs report an average DNA recovery rate of 85% using optimized cleanup techniques. However, this can vary significantly based on the initial sample quality and the cleanup method used.
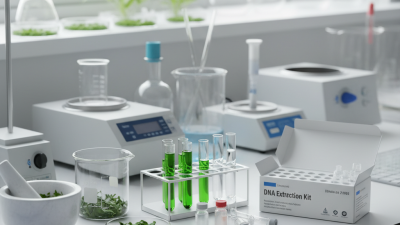
To effectively clean up genomic DNA, start by carefully preparing your solutions and equipment. Ensure all materials are sterile to avoid contamination. Follow the manufacturer’s guidelines for reagent concentrations and incubation times. When using phenol-chloroform extraction, for instance, it’s important to perform multiple washes. This can increase purity but may reduce overall yield.
Tips: Use chilled solutions to maintain sample integrity. Vortex gently to mix, avoiding frothing, which can shear the DNA. Keep in mind that over-purification can lead to losses of DNA, especially if sample handling is not gentle. Regularly assess your cleanup methods. Reflection on results can lead to improved protocols over time.
How to Perform Genomic DNA Cleanup Effectively and Efficiently? - Step-by-Step Protocol for Effective DNA Cleanup
| Step Number |
Procedure |
Duration |
Notes |
| 1 |
Collect genomic DNA sample. |
5 minutes |
Ensure sample is intact. |
| 2 |
Add cleanup buffer. |
2 minutes |
Mix thoroughly. |
| 3 |
Incubate at room temperature. |
10 minutes |
Use a timer for accuracy. |
| 4 |
Add precipitation solution. |
3 minutes |
Vortex gently. |
| 5 |
Centrifuge to pellet DNA. |
5 minutes |
Careful not to disturb pellet. |
| 6 |
Wash pellet with ethanol. |
2 minutes |
Ensure thorough washing. |
| 7 |
Dry pellet and rehydrate. |
10 minutes |
Use appropriate buffer. |
| 8 |
Quantify DNA concentration. |
5 minutes |
Use spectrophotometer. |
Common Challenges and Best Practices in DNA Cleanup
Cleaning up genomic DNA can be challenging. One common issue is
residual contaminants. These can interfere with downstream applications.
It’s crucial to remove them effectively. A careful choice of purification method can make a difference.
However, not every method is suitable for every sample type.
Another challenge is sample loss. During cleanup, some DNA may be discarded inadvertently.
This can result in lower yields. To counter this, always calculate the expected yield. Use controls to assess whether the cleanup is successful.
It's also important to balance between thoroughness and efficiency.
Over-cleaning can lead to the removal of crucial fragments.
Finally, consider the impact of conditions.
Temperature and time play vital roles in the success of the cleanup. Not adjusting these factors can lead to variable outcomes.
Documenting your process is essential. Small details can reveal patterns over time.
Reflection on these practices will help refine your approach.
Tips for Evaluating DNA Cleanup Quality and Yield
Cleaning up genomic DNA is crucial for many experiments. The quality and yield of your DNA should be assessed carefully. A successful cleanup can be seen through several indicators. First, check the purity using a spectrophotometer. Keep an eye on the A260/A280 ratio. An ideal ratio is around 1.8 for pure DNA. If it’s lower, contaminants might be present.
Next, run an agarose gel electrophoresis. This will show the integrity of the DNA. Look for sharp, clear bands. Smudging or trailing indicates degradation. Also, consider the yield. Use a fluorometer for precise measurements. Compare the yield to your initial sample. Discrepancies in yield can signal problems during the cleanup process.
Always reflect on the methods used. Sometimes, going through the protocol too quickly leads to mistakes. Document every step for future reference. Learn from any inconsistencies in your results. Each cleanup is a chance to improve your technique. Small details matter in science.